

内存地址空间分布
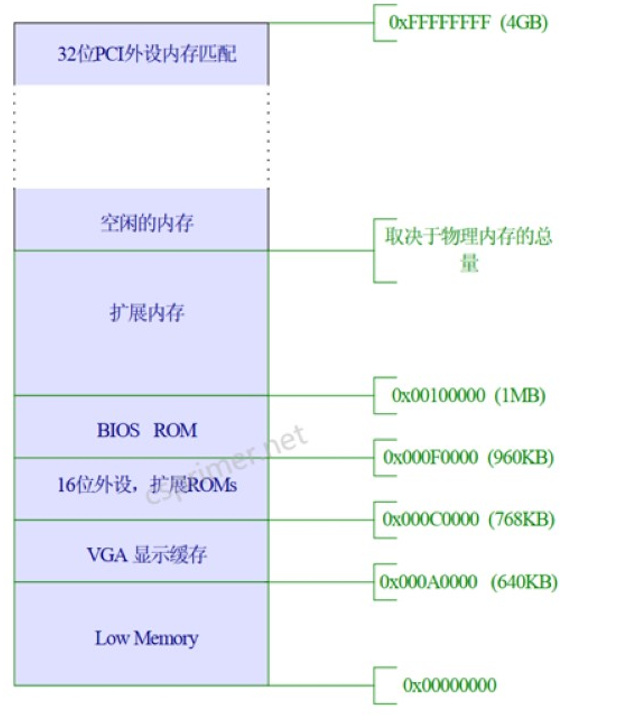
在1M之前都是8086模式下的地址空间
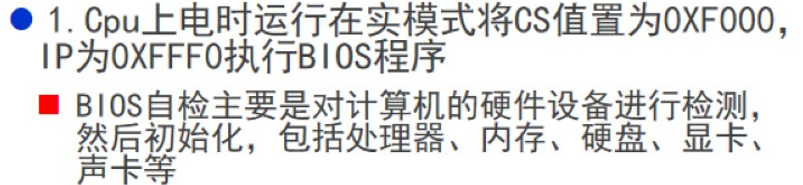
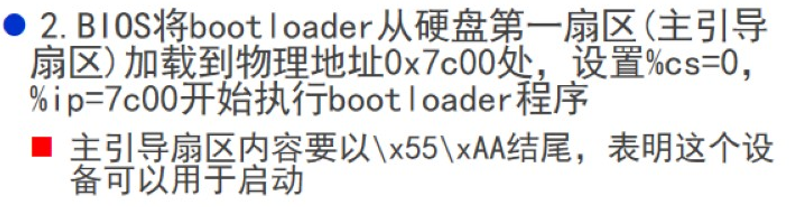
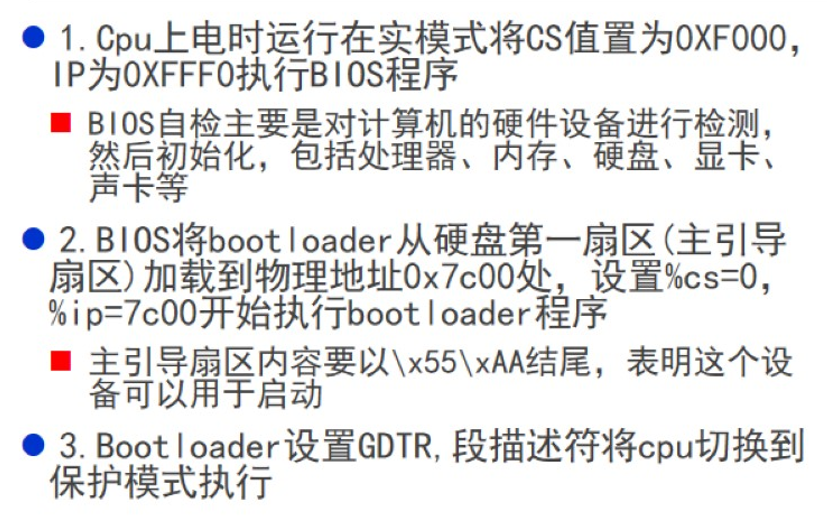
CPU上电后, 将程序跳转到BIOS例程, 初始化后BIOS会选择一个启动设备, 该启动设备的第一个扇区放的是Bootloader程序
Bootloader启动完成后, 会设置GDTR寄存器, 段描述符, 将CPU从实模式切换到保护模式执行
Boot程序
#include <mmu.h>

# Start the CPU: switch to 32-bit protected mode, jump into C.
# The BIOS loads this code from the first sector of the hard disk into
# memory at physical address 0x7c00 and starts executing in real mode
# with %cs=0 %ip=7c00.

.set PROT_MODE_CSEG, 0x8         # code segment selector
.set PROT_MODE_DSEG, 0x10        # data segment selector
.set CR0_PE_ON,      0x1         # protected mode enable flag

.globl start
start:
  .code16                     # Assemble for 16-bit mode
  cli                         # Disable interrupts
  cld                         # String operations increment

  # Set up the important data segment registers (DS, ES, SS).
  xorw    %ax,%ax             # Segment number zero
  movw    %ax,%ds             # -> Data Segment
  movw    %ax,%es             # -> Extra Segment
  movw    %ax,%ss             # -> Stack Segment

# print "hello world" in real mode
#  movw    $0xb800,%ax
#  movw    %ax,%es
#  movw    $msg1,%si
#  movw    $0xbe2,%di
#  movw    $24,%cx
#  rep     movsb
#  movw    $str,%si
#  movw    $0xc04,%di
#  movw    $26,%cx
#  rep     movsb

  # Enable A20:
  #   For backwards compatibility with the earliest PCs, physical
  #   address line 20 is tied low, so that addresses higher than
  #   1MB wrap around to zero by default.  This code undoes this.
seta20.1:
  inb     $0x64,%al               # Wait for not busy
  testb   $0x2,%al
  jnz     seta20.1

  movb    $0xd1,%al               # 0xd1 -> port 0x64
  outb    %al,$0x64

seta20.2:
  inb     $0x64,%al               # Wait for not busy
  testb   $0x2,%al
  jnz     seta20.2

  movb    $0xdf,%al               # 0xdf -> port 0x60
  outb    %al,$0x60

  # Switch from real to protected mode, using a bootstrap GDT
  # and segment translation that makes virtual addresses
  # identical to their physical addresses, so that the
  # effective memory map does not change during the switch.
  lgdt    gdtdesc
  movl    %cr0, %eax
  orl     $CR0_PE_ON, %eax
  movl    %eax, %cr0

  # Jump to next instruction, but in 32-bit code segment.
  # Switches processor into 32-bit mode.
  ljmp    $PROT_MODE_CSEG, $protcseg

  .code32                     # Assemble for 32-bit mode
protcseg:
# Set up the protected-mode data segment registers
  movw    $PROT_MODE_DSEG, %ax    # Our data segment selector
  movw    %ax, %ds                # -> DS: Data Segment
  movw    %ax, %es                # -> ES: Extra Segment
  movw    %ax, %fs                # -> FS
  movw    %ax, %gs                # -> GS
  movw    %ax, %ss                # -> SS: Stack Segment

# print "hello world" in protect mode
  movl $msg2,%esi
  movl $0xb8d22,%edi
  movl $60,%ecx
  rep movsb

  # Set up the stack pointer and call into C.
  movl    $start, %esp
  call bootmain

  # If bootmain returns (it shouldn't), loop.
spin:
  jmp spin

# Bootstrap GDT
.p2align 2                                # force 4 byte alignment
gdt:
  SEG_NULL				# null seg
  SEG(STA_X|STA_R, 0x0, 0xffffffff)	# code seg
  SEG(STA_W, 0x0, 0xffffffff)	        # data seg

gdtdesc:
  .word   0x17                            # sizeof(gdt) - 1
  .long   gdt                             # address gdt


#msg1:
#  .byte 'i',0x7,'n',0x7,' ',0x7,'r',0x7,'e',0x7,'a',0x7,'l',0x7,' ',0x7,'m',0x7,'o',0x7,'d',0x7,'e',0x7
msg2:
  .byte 'i',0x7,'n',0x7,' ',0x7,'p',0x7,'r',0x7,'o',0x7,'t',0x7, 'e',0x7,'c',0x7,'t',0x7, 'e',0x7,'d',0x7,' ',0x7,'m',0x7,'o',0x7,'d',0x7, 'e',0x7
str:
  .byte ':',0xc,' ',0xc,'h',0xc,'e',0xc,'l',0xc,'l',0xc,'o',0xc,' ',0xc,'w',0xc,'o',0xc,'r',0xc,'l',0xc,'d',0xc
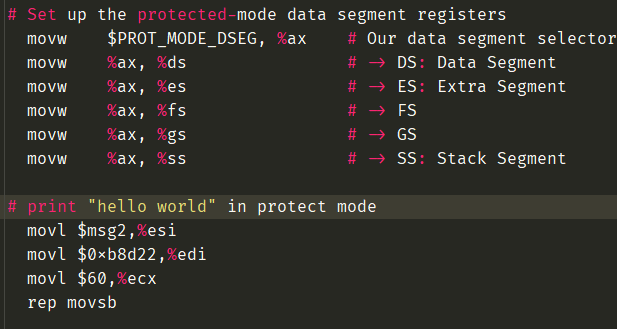
初始化保护模式寄存器, 并且在实模式下打印hello world, 也就是将字符串hello world字符串写入到VGA显存
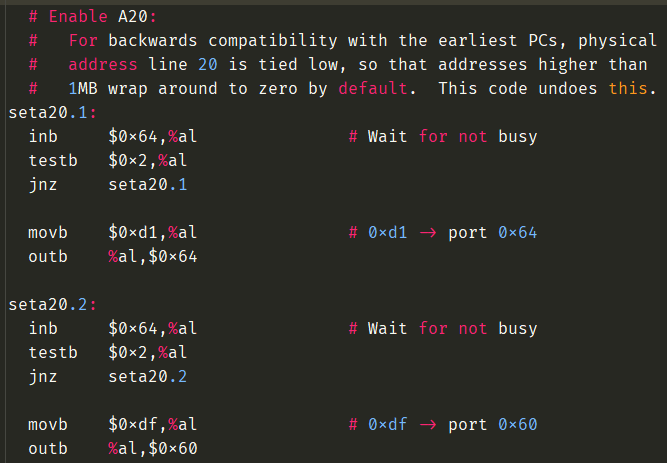
打开A20地址线, 为了和8086处理器做兼容
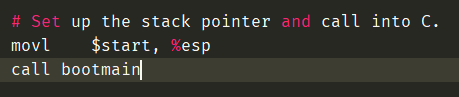
在调用C函数之前需要设置堆栈, 也就是将栈顶设置为start地址, 也就是代码段的起始地址, 从start向上是代码段, 栈向下生长, 不会冲突
Bootloader编译过程
将汇编文件, C文件编译成.o文件, 然后再链接成可执行文件, 但是如果C文件过多, 需要构建工具进行构建, Linux下使用Makefile工具
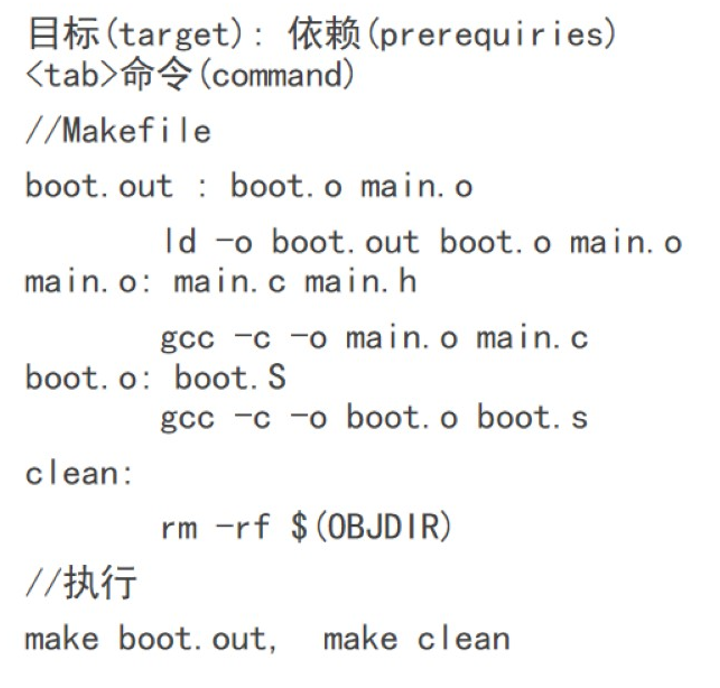
Makefile的语法
QEMU模拟
模拟正式的计算机, 有内置的BIOS程序, 如果程序能在QEMU上运行, 也能在裸机上运行
设置虚拟硬盘, 将Boot内容放置到第一个扇区

 京公网安备 11010502036488号